Converting Battery Devices to Plug-in Wall Powered Adapter
Expert Reviewed Article by our Certified Editor, Christopher Bouchard, C.E.M.
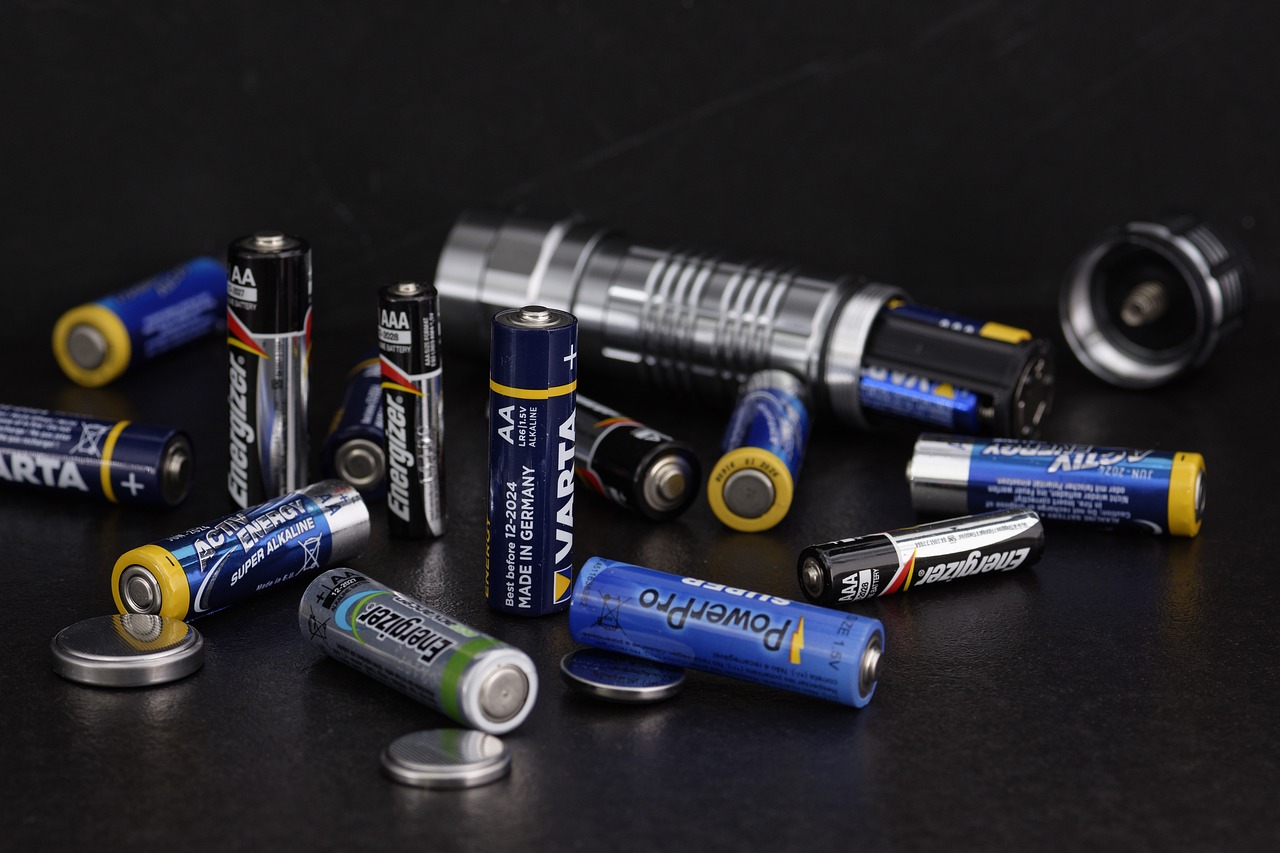
Tired of buying wasting money on batteries?
Wish your gadgets could just plug in?
Let's talk about making life simpler and more budget-friendly!
Ever get tired of dealing with the hassle of changing batteries all the time? Well, there’s good news – there’s a device called a battery to plug adapter for your gadgets and they are a total game-changer. This guide is all about how they work, how to convert battery powered device to wall power, checking out the best ones on the market, and about how these nifty adapters can make your life easier. Say goodbye to constant battery swaps and hello to a simpler, more convenient way of powering your devices!
This article will help to address the following questions:
Can you convert plug in lights to battery?
What is a plug in adapter for a battery?
Can I charge a battery with a wall adapter?
How do I convert a battery to plug-in?
THE ADVANTAGES OF A PLUG-IN BATTERY ADAPTER:
Uninterrupted Power Supply: Learn how to convert your battery-operated devices to plug-in using innovative battery adapters. Say goodbye to the hassle of changing batteries frequently and enjoy uninterrupted power for up to 24 hours.
Molded to Size: Battery adapters are built with flexible, flat cables which can easily fit into battery compartments, making the conversion process straightforward.
Versatility: Explore the practical applications of converting battery-operated devices to plug-in using USB cables. From LED lights to decorations and battery-operated table lamps, adapters offer a versatile solution for various devices.
Cost-Effective Solution: Learn the cost-effective way to convert battery-operated devices to plug-in power. Battery adapters eliminate the ongoing expense of purchasing batteries, providing a sustainable solution for continuous power.
Eco-Conscious Approach: Discover an eco-friendly method of converting battery-operated devices to plug-in power. Adapters reduce battery waste, promoting sustainability for a greener planet.
Ideal for High-Usage Gadgets: Explore the benefits of converting battery-operated devices to plug-in, especially for high-usage gadgets. Adapters offer a reliable power source, perfect for devices like LED lights or decorations used for extended periods
Conversion is simple.
1. Identify the positive and negative ends of the battery compartment on your device.
2. Insert the powered end of the battery adapter into the battery case
3. Insert “dummy” batteries if necessary
4. Close compartment gently on wire, modification may be required to completely close battery compartment
5. Connect USB cables to adapters and wall power adapters.
6. If necessary, make minor modifications to plastic housings, such as drilling small holes, for a seamless conversion process.
7. Enjoy the convenience of continuous, hassle-free power for your electronic devices.
As Simple as Changing Batteries
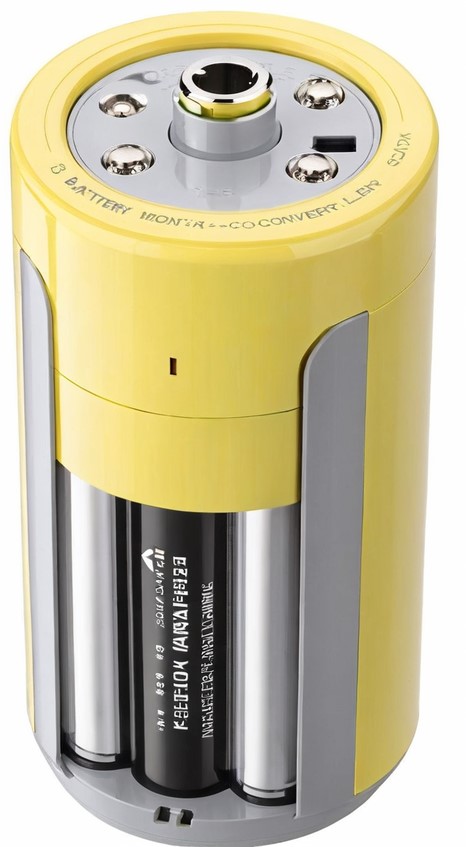
How Battery to wall Power Adapters Work:
The converter works by the use of a low voltage wall outlet power supply. The power supply provides low voltage power through the cable. The unit comes with “dummy batteries”, these batteries are put in place simply to complete the electrical circuit. Meanwhile, a powered battery is inserted into the device to provide the power source. The battery to wall power converters come with a very thin wire, which allow for battery compartments to close with minimal modifications.
Amazon and the Amazon logo are trademarks of
Amazon.com, Inc. or its affiliates
Voltage Selectable Battery Adapters
For added convivence, there are voltage selectable battery adapters are available on the market. These units are helpful in situations where the device you are looking to power may be a temporary device, such as a holiday decorative device or if you have multiple devices you wish to power throughout the year, but not used all at ones.
For example, let’s say you have a set of string lights for Halloween which uses 2 AA batteries, and you have a Christmas Light-up Gnome which uses (4) AA batteries. You can use a voltage selectable battery to wall power converter and set the unit to the equivalent input power voltage, in accordance with the chart below.
The voltage selectable battery to plug – in wall adapter works by utilizing “dummy” batteries, as similar to the standard plug adapters already discussed. The selectable units come with a voltage setting switch and you’ll want to set the switch setting in accordance with the chart shown below. You’ll then utilize the appropriate number of dummy batteries and insert them into the battery compartments. Just like the standard wall plug converter, you’ll close the compartment and begin to enjoy the perks of not having to change batteries.
For Battery Voltage Selectable Adapters, follow the chart voltage selections below: